Repairing Moisture Damage on Painted Surfaces – Step by Step

Repairing Moisture Damage on Painted Surfaces – Step by Step
Moisture damage on painted surfaces is a common issue in Australian homes, whether they’re coastal, suburban, or inland. It often appears as discolouration, peeling, or bubbling paint – and if left untreated, it can lead to mould growth and structural problems. Fortunately, with the right approach, you can repair the damage and restore a clean, durable finish. Here’s a step-by-step guide to help you through the process.
Step 1: Identify and stop the source of moisture
Before you start painting, it’s essential to find out where the moisture is coming from. Otherwise, the problem will return. Check for leaking pipes, roof or gutter issues, poor ventilation, or rising damp – a common problem in older Australian homes.
- Indoor moisture may come from condensation, especially in bathrooms, laundries, and kitchens.
- Outdoor moisture can enter through cracks in brickwork, damaged flashing, or poorly sealed windows.
Once you’ve found the source, fix it – whether that means sealing leaks, improving drainage, or increasing ventilation. Only move on when the area is completely dry.
Step 2: Remove loose paint and damaged materials
After stopping the moisture, remove all damaged material. Use a paint scraper or putty knife to lift off any loose or flaking paint. If the surface is badly affected, you may need to sand it back to a firm base.
Be thorough – even small patches of loose paint can prevent new coatings from adhering properly. A wire brush can help clean corners and edges.
Step 3: Clean and disinfect the area
Moisture damage can encourage mould and bacteria growth. Clean the area with a mild detergent or a mould-removal product suitable for painted surfaces. Always wear gloves and ensure good ventilation while cleaning.
Allow the surface to dry completely – this may take several days depending on humidity and temperature. In humid regions, such as coastal Queensland or northern NSW, using a dehumidifier or fan can speed up the process.
Step 4: Repair the surface
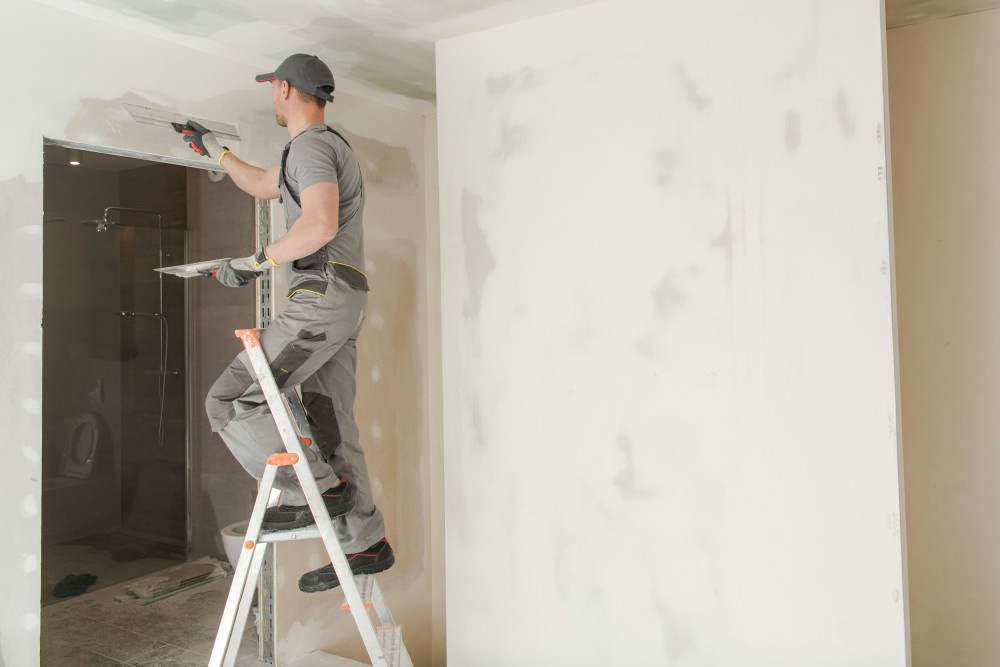
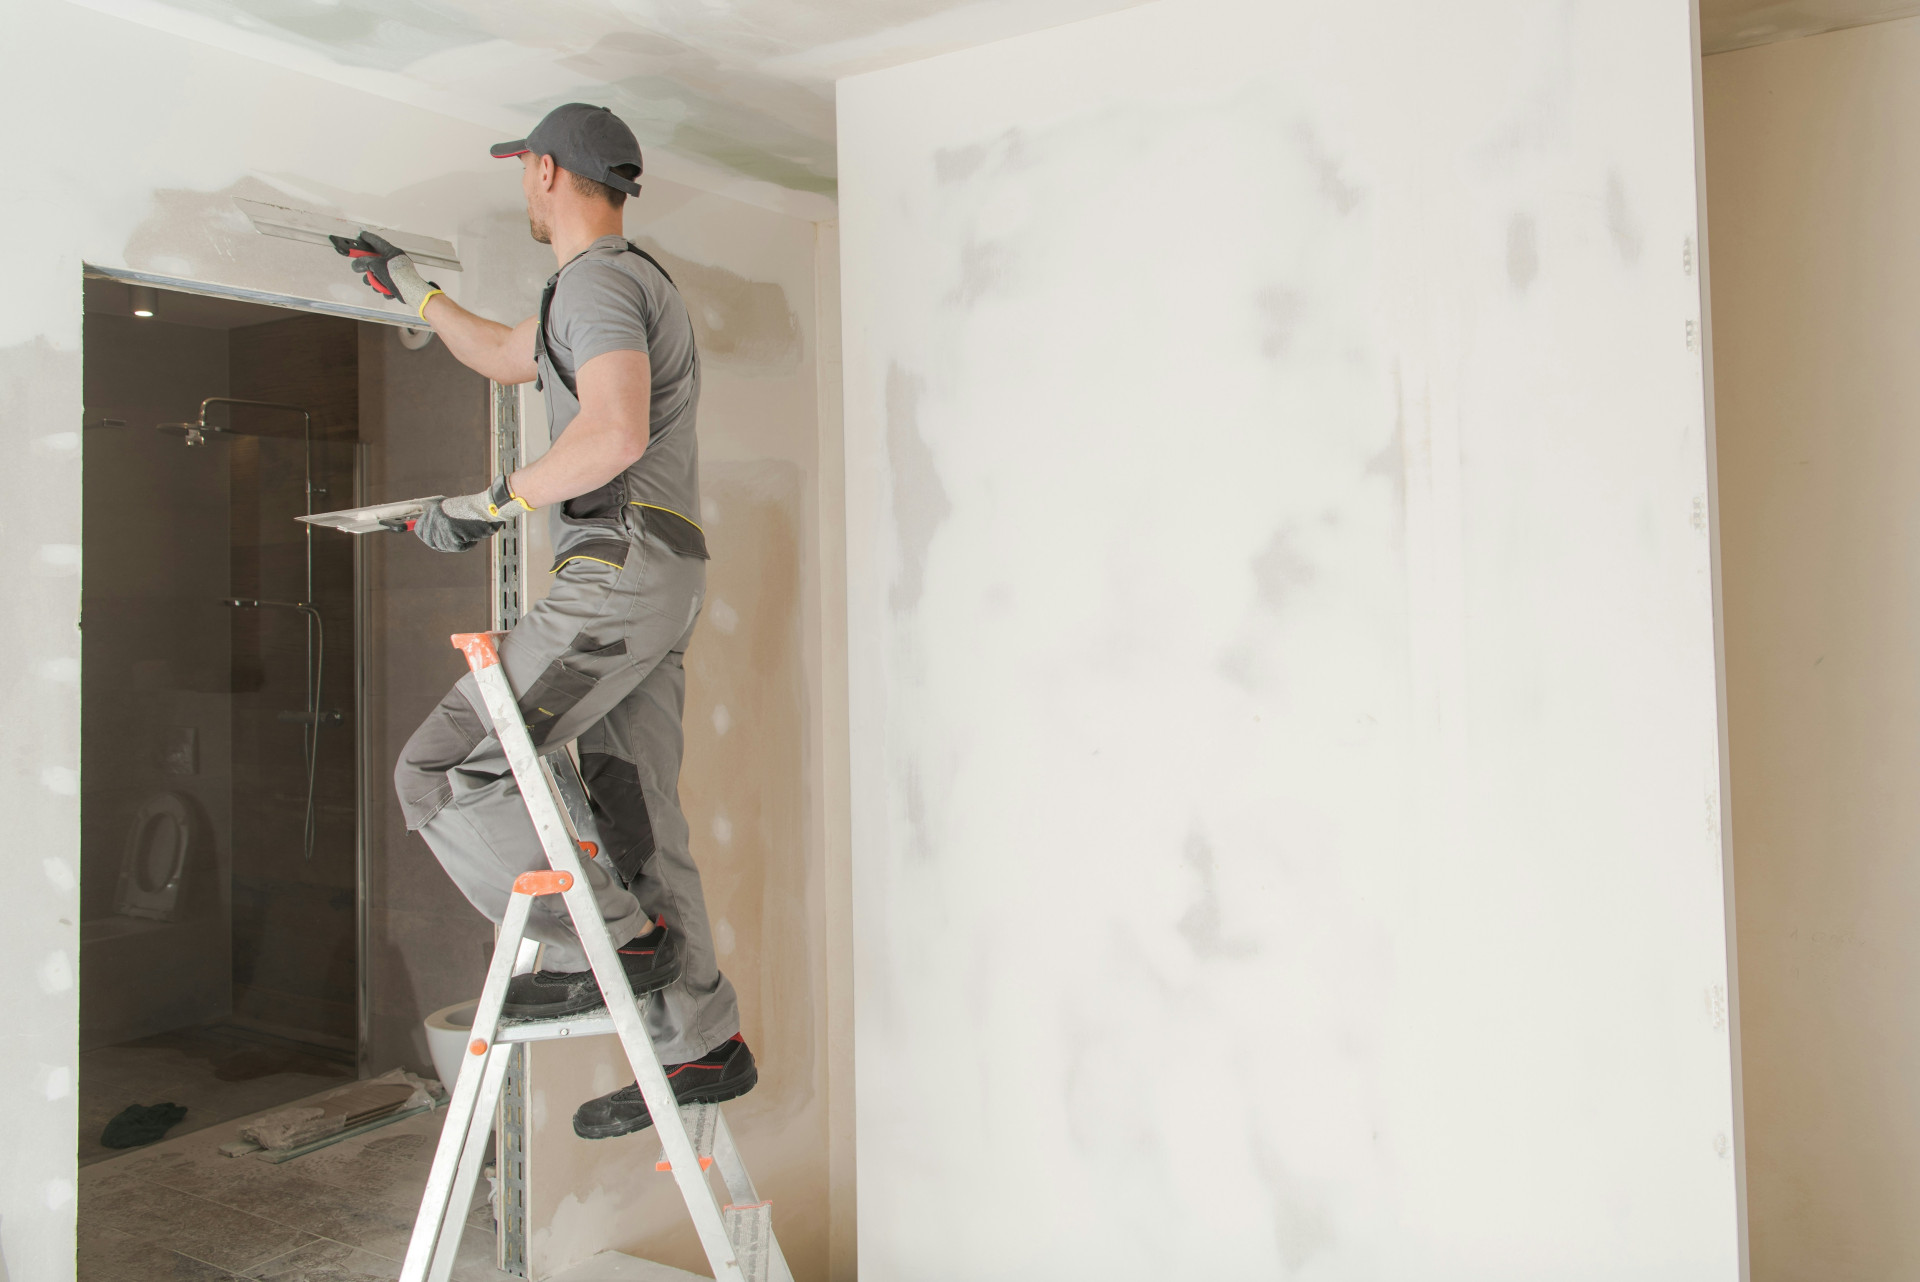
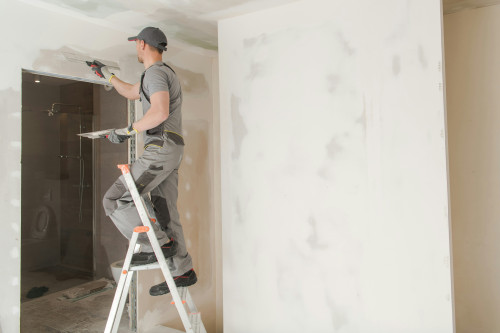
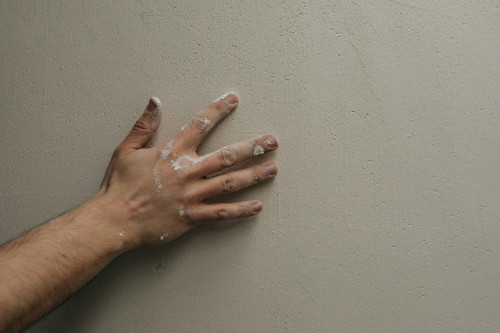
Once the wall is clean and dry, it’s time to restore a smooth surface. Use a suitable filler or patching compound to fill cracks, holes, and uneven areas. Apply in thin layers, allowing each to dry before lightly sanding with fine sandpaper.
If the damage is extensive, you may need to re-plaster or re-skim a larger section. Make sure the surface is smooth and solid before priming and painting.
Step 5: Apply a stain-blocking primer
Moisture damage often leaves stains that can bleed through new paint. To prevent this, apply a stain-blocking primer designed to seal watermarks and stop discolouration. Follow the manufacturer’s instructions for drying times.
This step is especially important if there has been mould or dark staining on the wall.
Læs også:
Step 6: Repaint the surface
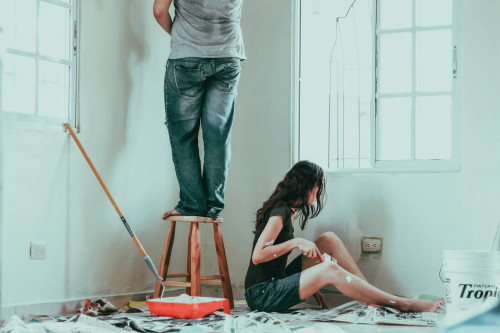
Once the primer is dry, repaint the wall with your chosen paint. Select a paint type that suits the room’s conditions – for example, a washable, moisture-resistant paint for bathrooms, laundries, and kitchens.
Apply two coats for an even finish, and ensure good airflow while painting. In areas prone to humidity, consider using a breathable (vapour-permeable) paint that allows moisture to escape, reducing the risk of future bubbling or peeling.
Step 7: Prevent future moisture damage
After the repair, focus on preventing the problem from returning. Keep your home well-ventilated, especially in rooms with high humidity. Regularly check areas like window sills, corners, and ceilings for early signs of dampness.
If poor ventilation is an ongoing issue, consider installing an exhaust fan or dehumidifier. In coastal or tropical regions, maintaining airflow and using moisture-absorbing products can make a big difference.
A lasting finish with the right preparation
Repairing moisture damage takes patience, but the results are worth it. By identifying the cause, cleaning thoroughly, and using the right products, you can restore a beautiful, long-lasting surface. The key is to act quickly – the sooner you address moisture problems, the less damage you’ll have to repair later.
Læs også: