Avoid Measurement Errors on Uneven Structures


Avoid Measurement Errors on Uneven Structures
Whether you’re building a new deck, renovating a Queenslander, or tackling a DIY project in your backyard shed, accurate measurements are key to a professional finish. But when you’re working on uneven surfaces – like warped timber, sloping floors, or rough brickwork – even small irregularities can throw your measurements off. Here’s how to keep your readings precise, even when the structure isn’t perfectly level.
Understand the Challenge: Why Uneven Surfaces Cause Errors
A measurement is only as reliable as the surface it’s taken from. If a wall bows out or a floor dips slightly, those imperfections can lead to misaligned fittings, crooked cabinetry, or gaps in your joinery. A few millimetres of error might not sound like much, but it can make doors stick, tiles misalign, or panels fail to meet cleanly.
That’s why it’s not just about measuring – it’s about measuring correctly in relation to the real-world surface you’re working with.
Choose the Right Measuring Tools
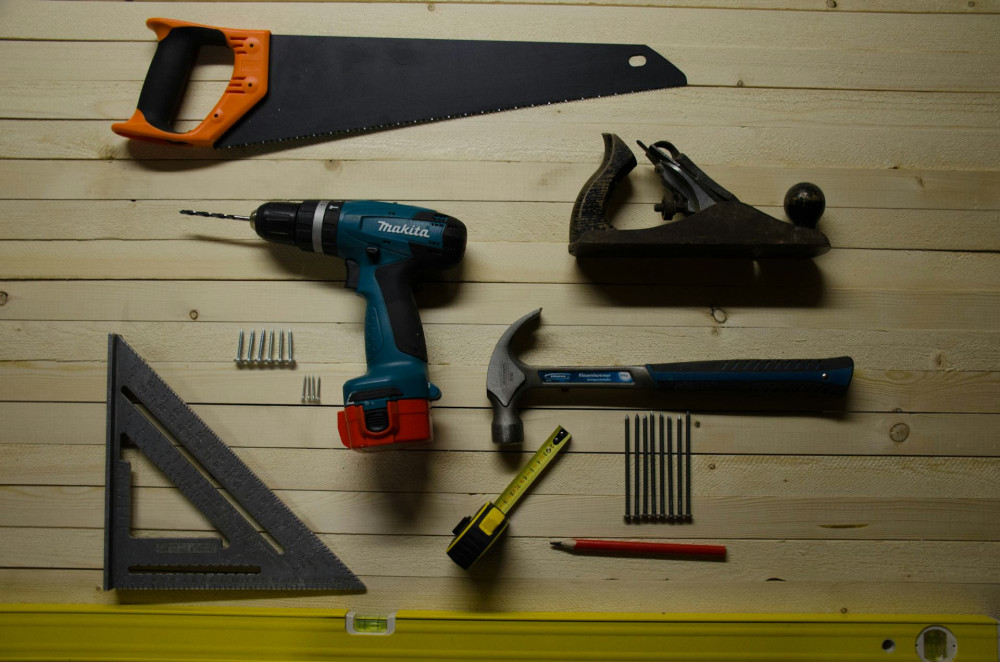
The tools you use have a big impact on accuracy. Here are some of the most useful options and when to use them:
- Spirit level – Essential for checking level and plumb. A longer level helps smooth out minor surface variations.
- Laser distance measurer – Fast and precise, but make sure the laser hits a consistent reference point. Irregular surfaces can deflect the beam and cause errors.
- Chalk line – Great for marking straight lines across uneven walls or floors, such as when laying tiles or installing cladding.
- Angle finder or digital protractor – Perfect for checking corners that aren’t exactly 90 degrees.
- Tape measure with a rigid blade – Handy for quick checks, but keep it taut to avoid sagging or bending errors.
For best results, use more than one tool to cross-check your measurements, especially when the surface varies across different points.
Establish Reliable Reference Points
When the structure isn’t even, it’s crucial to define a stable reference point for all your measurements. This could be:
- A horizontal laser line projected around the room.
- A vertical plumb line from floor to ceiling.
- A fixed edge such as a door frame or corner that you know is level.
By measuring from a consistent reference, you prevent small irregularities from compounding throughout your project.
Measure in Multiple Spots and Compare Results
A common mistake is to measure once and assume the rest is the same. On uneven structures, always take several measurements and compare them. For example, measure at the top, middle, and bottom of a wall, or along several points of a floor.
If the differences are minor, you can average them out. But if the variations are significant, it’s often better to correct the surface before continuing.
Account for Material Movement
Australia’s climate can be tough on materials. Timber expands and contracts with humidity, concrete shifts with temperature, and plasterboard can flex slightly over time. When measuring and fitting on uneven structures, allow a small tolerance for movement – especially at joints and transitions.
A few extra millimetres of clearance can make the difference between a smooth finish and a visible misalignment later on.
Record and Mark Your Measurements
Write down your measurements and mark them clearly on drawings or photos. This helps you spot patterns in uneven areas and plan where to compensate. If you’re working with other trades, proper documentation ensures everyone is working from the same reference data.
Læs også:

When It’s Better to Fix Than to Adjust
Sometimes the surface is simply too uneven to work around. In those cases, it’s smarter to correct the structure first – by levelling a floor, re-plastering a wall, or installing a new subframe. It might seem like extra effort, but it saves time and frustration down the track.
Precision Pays Off
Avoiding measurement errors isn’t just about tools – it’s about patience and consistency. Take the time to check, repeat, and compare your readings. It’s far easier to correct a line on paper than to fix a crooked installation later.
With the right tools, solid reference points, and a systematic approach, you can achieve accurate results – even when the structure beneath your tape measure isn’t perfectly straight.
Læs også: