Build an Elegant Oak Coffee Table – Step by Step


Build an Elegant Oak Coffee Table – Step by Step
A solid oak coffee table is a timeless piece that brings warmth, texture, and natural beauty into your living room. With a bit of planning and the right tools, you can build one yourself that looks professional and fits perfectly with your home’s style. Here’s a step-by-step guide tailored for Australian DIY enthusiasts.
Choose Your Design and Dimensions
Before you start cutting timber, decide on the size and look of your table. A standard coffee table is usually around 120 x 60 cm with a height of 45–50 cm, but you can adjust the measurements to suit your sofa and space.
Think about the design style you want:
- Modern and minimalist: Smooth surfaces, clean lines, and hidden joints.
- Rustic and natural: Visible grain, rounded edges, and a lightly brushed finish.
- Functional with storage: Add a lower shelf or a small drawer for magazines or remotes.
Sketch your design with measurements so you have a clear plan to follow.
Materials and Tools
For a solid oak coffee table, you’ll need:
Materials:
- Oak boards (for tabletop and legs)
- Wood glue
- Screws or dowels
- Sandpaper (grits 80, 120, and 240)
- Timber oil, wax, or clear varnish for finishing
- Felt pads for the legs (optional)
Tools:
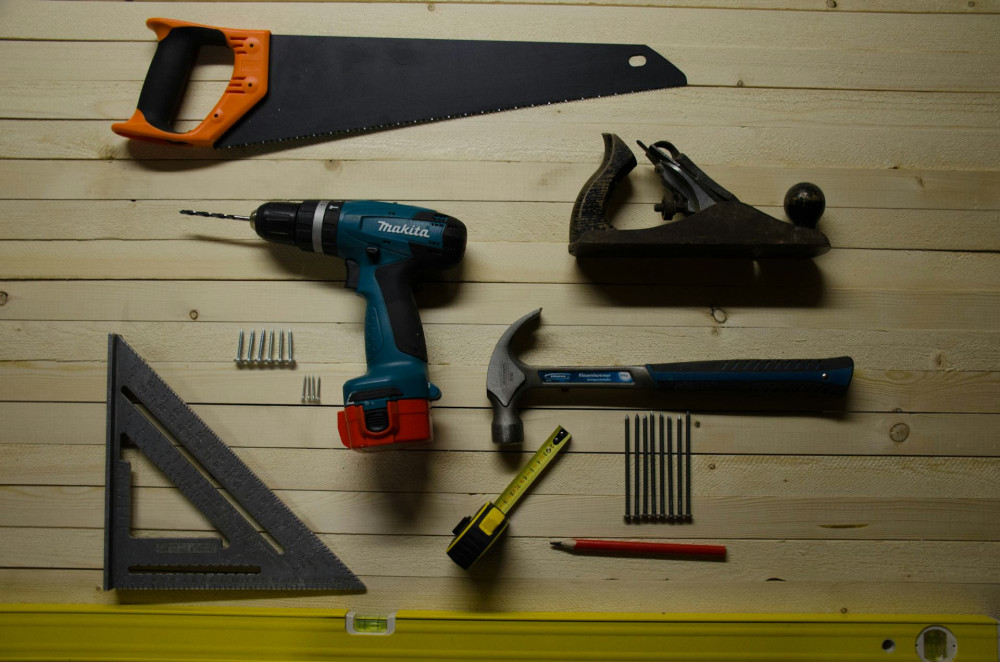
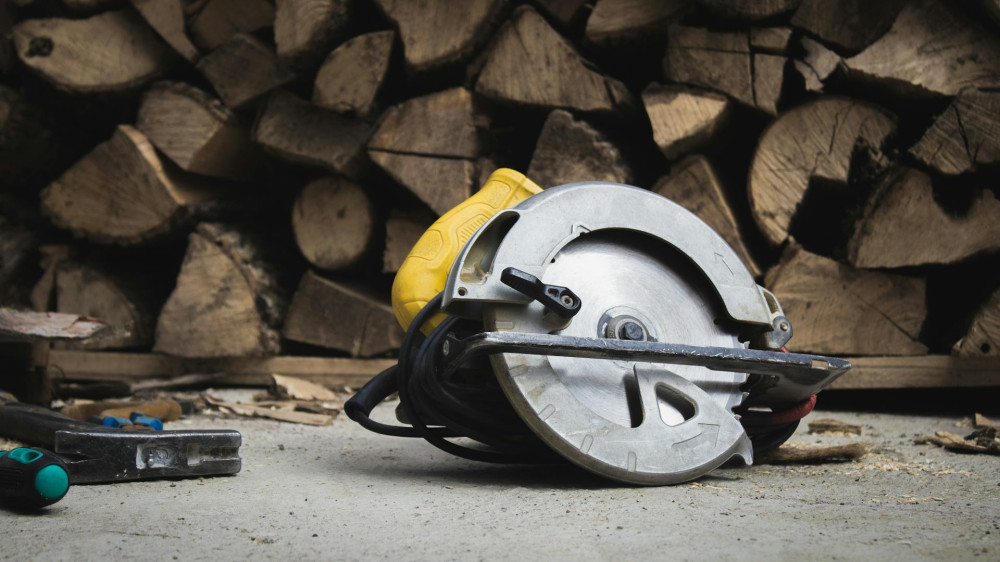
- Circular saw or handsaw
- Drill and drill bits
- Clamps
- Plane or orbital sander
- Measuring tape, square, and pencil
If you don’t own all the tools, most hardware stores in Australia—like Bunnings or Mitre 10—offer tool hire services.
Step 1: Cut the Timber
Start by cutting your oak boards to the desired dimensions. The tabletop can be made from a single wide board or several narrower ones glued together. If you’re joining multiple boards, alternate the grain direction to reduce warping over time.
Apply wood glue along the edges, clamp the boards tightly, and wipe away any excess glue with a damp cloth before it dries.
Step 2: Make the Legs and Frame
You can build the legs as solid square pieces or create a simple frame base. Cut all legs to the same length and check that they’re perfectly straight.
If you’re building a frame, join the pieces using screws or dowels. Use a square to ensure all corners are at 90 degrees. A sturdy frame is essential for a stable table.
Step 3: Assemble the Table
Once the tabletop and base are ready, attach them together. You can screw the frame to the underside of the tabletop or use brackets that allow for easy disassembly later. Don’t overtighten the screws—timber naturally expands and contracts with changes in humidity.
Check that the table sits level before moving on.
Step 4: Sand and Finish
Sand the entire table thoroughly—start with coarse sandpaper (80 grit), then move to finer grits (120 and 240). Always sand along the grain to avoid scratches.
When the surface feels smooth, apply your chosen finish:
- Timber oil enhances the grain and gives a warm glow.
- Wax provides a soft, natural matte look.
- Varnish offers strong protection and easy cleaning.
Apply the finish with a cloth or brush, following the manufacturer’s instructions. Let it dry completely, and apply a second coat if needed for durability.
Læs også:




Step 5: Final Touches and Maintenance
Round off sharp corners with fine sandpaper, attach felt pads under the legs to protect your floors, and give the table a final wipe with a clean, dry cloth.
An oak coffee table requires minimal upkeep—just reapply oil once a year to keep the timber nourished. Avoid placing hot items directly on the surface, and wipe up spills promptly.
A Piece with Character
When you stand back and admire your finished table, you’ll see more than just a piece of furniture—you’ll see craftsmanship and personality. Oak’s natural grain and golden tones make every table unique, and the satisfaction of having built it yourself adds a special touch to your home.
Læs også: