Make a checklist of your tools before you get started

Make a checklist of your tools before you get started
Few things can stall a DIY project faster than realising you’re missing the right tool halfway through the job. Whether you’re putting up a shelf, building a deck, or repainting the living room, good preparation can save you both time and frustration. A simple tool checklist is one of the easiest ways to make sure you’re ready before you start.
Here’s a guide to creating your own tool checklist – and why spending five minutes planning can make your project run more smoothly.
Why a checklist makes a difference
When planning a project, most people focus on materials and measurements – but your tools are just as important. A checklist helps you:
- Avoid interruptions – no need to dash to Bunnings or Mitre 10 halfway through the job.
- Work more safely – you’ll spot missing or faulty tools before you’re in a tight spot.
- Save money – you won’t buy duplicates of tools you already own.
- Get a better result – the right tool makes the job easier and the finish neater.
A checklist isn’t just for the super-organised – it’s a practical habit for anyone who wants their project to go smoothly.
Læs også:

Start by checking your workspace
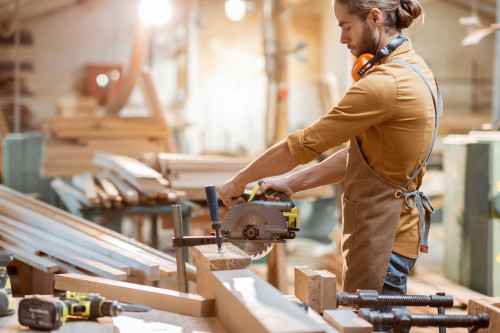
Before you write your list, take stock of what you already have. Go through your shed, garage, or toolbox and make sure everything is in good working order.
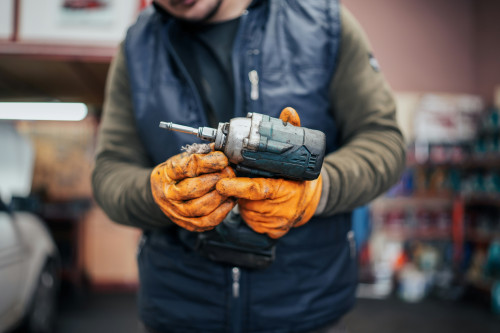
- Is your gear clean and functional? Remove rust, oil moving parts, and replace worn-out screwdrivers or drill bits.
- Are your batteries charged? Make sure cordless tools are ready to go, and have spares on hand if the job takes longer than expected.
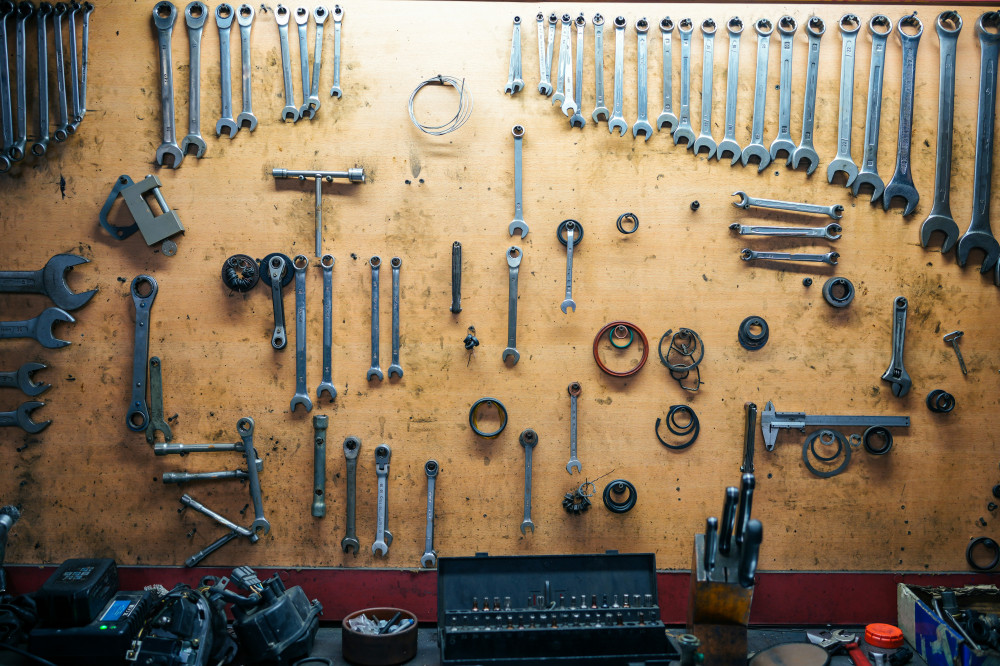
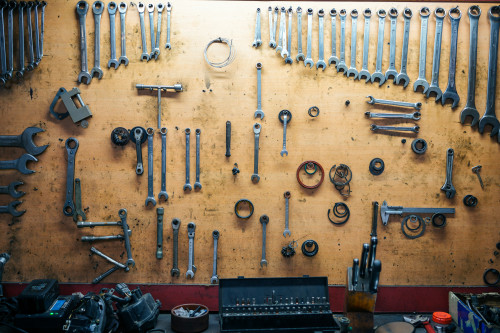
- Is your storage organised? Hooks, bins, or a pegboard make it easier to find what you need when you need it.
Once you’ve got a clear picture of your tools, you can start building your checklist.
Create a checklist tailored to your project
There’s no one-size-fits-all checklist – it depends on what you’re doing. But you can start with a few basic categories.
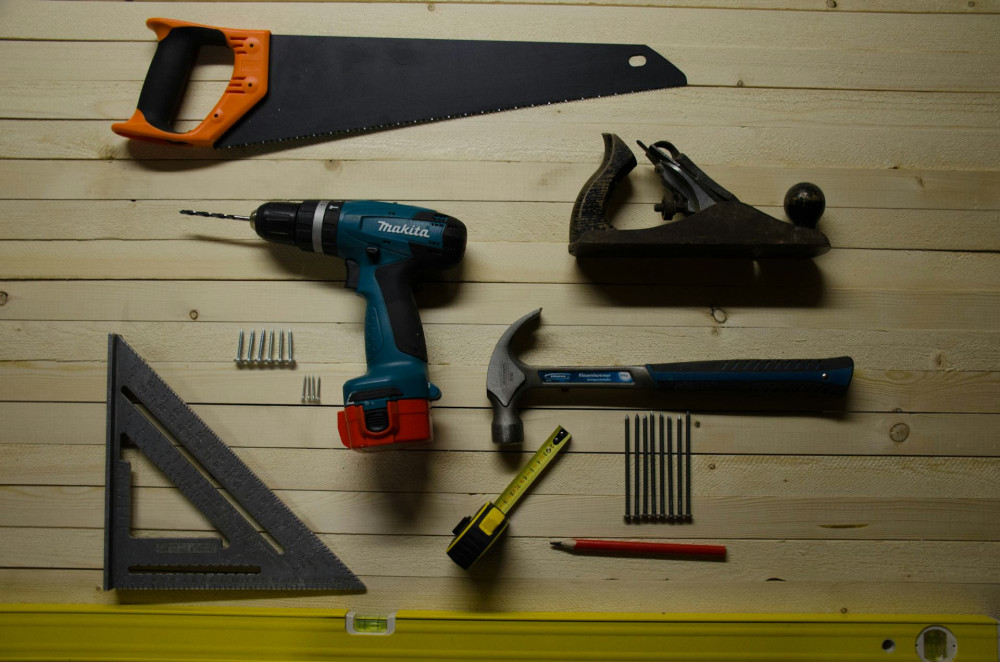
1. Essential hand tools
- Hammer
- Screwdrivers (flat and Phillips head)
- Pliers and side cutters
- Spirit level
- Tape measure and pencil
- Utility knife
2. Power and battery tools
- Drill or driver
- Saw (jigsaw, circular saw, or hand saw depending on the job)
- Sander
- Extension lead and spare batteries
3. Safety gear
- Work gloves
- Safety glasses
- Hearing protection
- Dust mask or respirator
4. Materials and accessories
- Screws, nails, and wall plugs in suitable sizes
- Sandpaper
- Glue, filler, or sealant
- Painter’s tape and drop sheets
Once your list is written, mark what you already have and what you need to buy or borrow.
Check your tools before you start
Before you dive in, take a moment to test everything. A drill that won’t hold charge or a blunt saw can quickly throw you off track. Do a quick run-through:
- Test power tools for function and safety.
- Make sure you have the right bits, blades, and attachments.
- Lay out your tools in the order you’ll need them.
It might seem like a small step, but it makes a big difference to how efficiently you work.
Make the checklist a habit
Once you’ve created a checklist, keep it handy for next time. Save it on your phone or hang it in the shed so you can reuse it. You might even make different versions – one for woodworking, one for painting, and one for small repairs.
By making a checklist part of your routine, your projects will become more organised, safer, and more enjoyable to complete.
Ready to get started
A successful DIY project isn’t just about skill – it’s about preparation. With a tool checklist, you’ll have peace of mind knowing you’ve got everything you need. That means you can focus on the fun part: building, fixing, and creating something with your own hands.
Læs også: